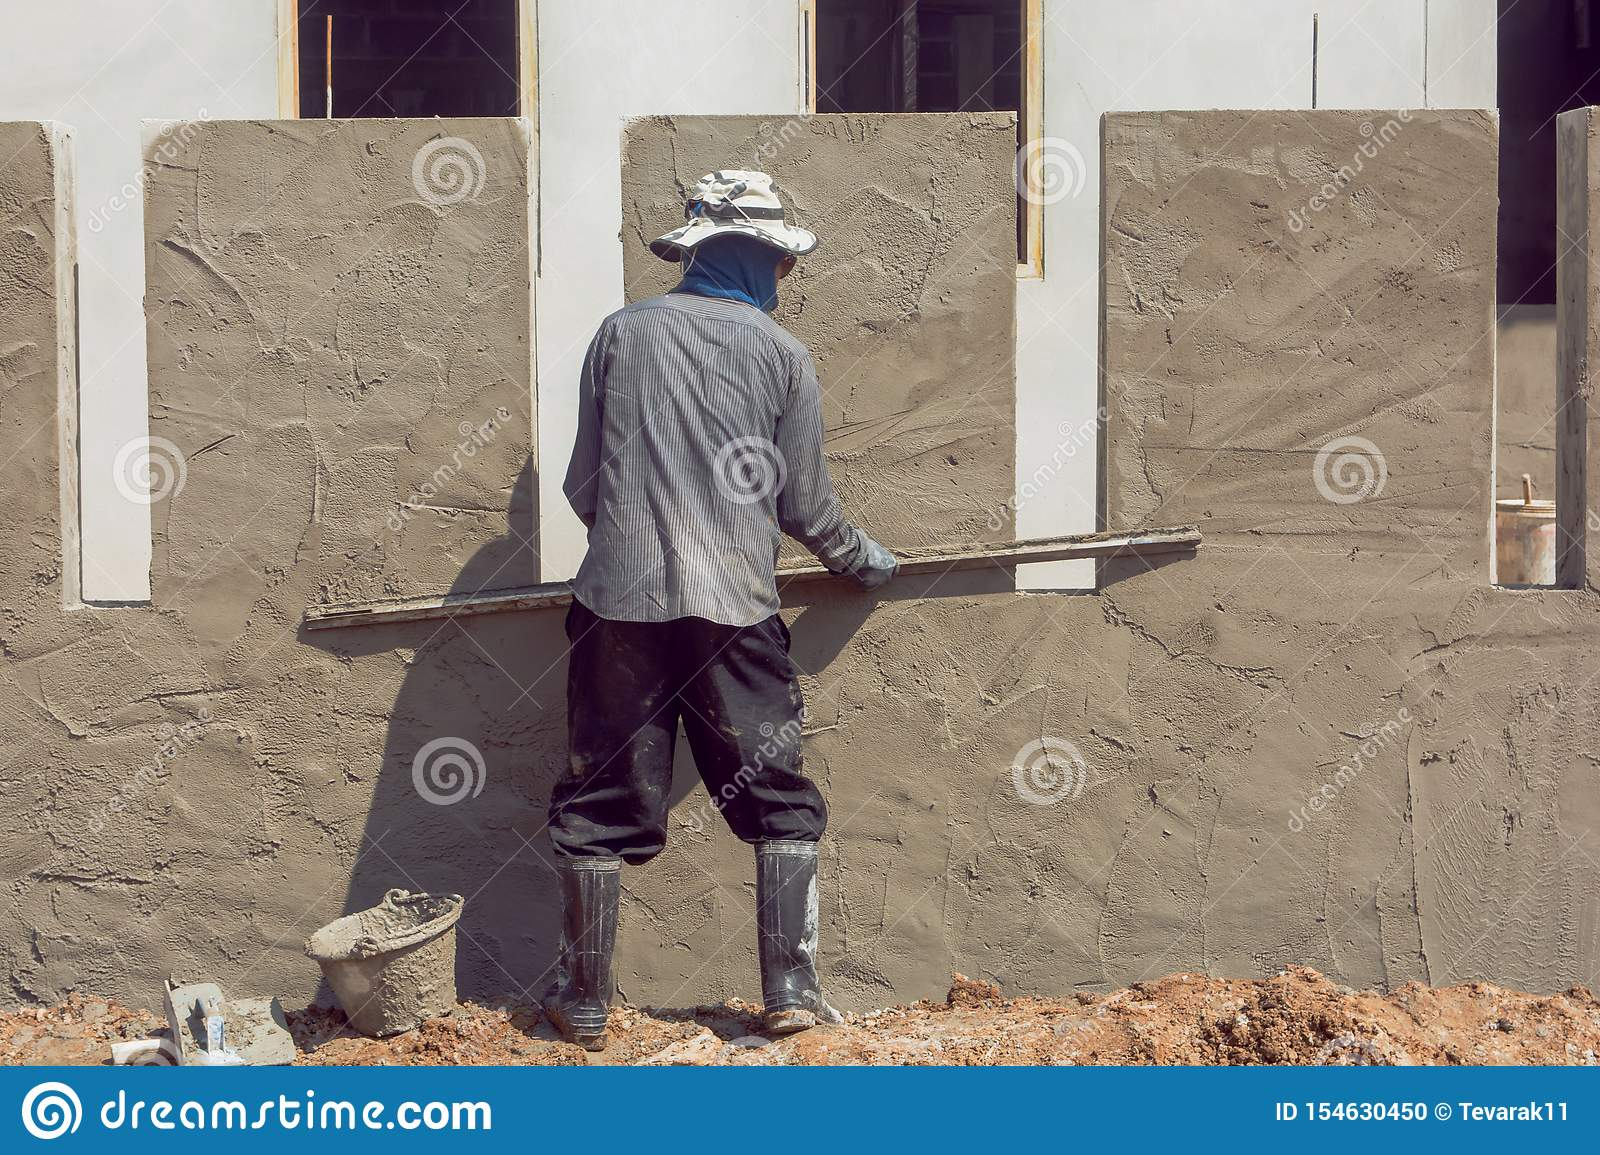
In a Building Plaster enhances the look and also protects the wall from moisture and other elements, it is done after completing the Masonry Work and before applying Paint.
“In Buildings, Plaster is like the Cloth for Walls”
~An Anonymous Civil Engineer
The usual Composition of Plaster is Cement, Sand and Water. It is a thin layer of mortar applied over the masonry surface and it acts as a damp-proof coat over the brick masonry work.
It is used on Masonry Walls, Ceilings and Partitions for giving them a firm look and improvising the overall look of the building.
Common Types of Plaster Used
On the basis of raw materials Common Plater types are:
Cement plaster
Lime plaster
Gypsum plaster
Mud plaster
General Information
Average Plaster thickness varies from 10-15 mm for inner plaster and 15-25 mm for outer plaster
Brief Process, Cleaning of Surface Before Applying---- Applying Water----Preliminary coat of cement Slurry (Cement +Water) to fill up the voids in masonry----First Coat of 6-8 mm Applied---- 2nd Coat Applied
.Preparation Before Plastering
Any openings in the form of Electrical or Water Pipes is Closed.
Wire Meshes/Chicken Meshes are applied at all the junctions where cracks may arise.
Bull Marks for Measuring and keeping the plastering thickness uniform are given at proper intervals.
Walls are cured properly before plastering and made wet before plastering, cement slurry and water is also applied.
The mix ratio for plastering is usually 1:6, 1 part Cement for 6 Parts Sand, unless specified otherwise by the site incharge.
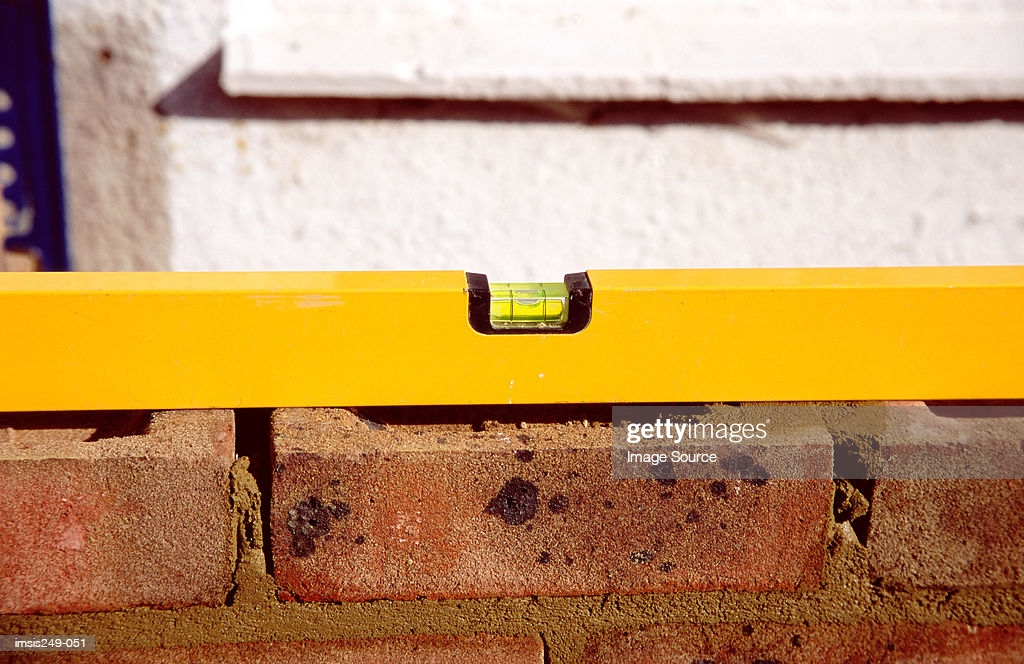
Instruments or Methods for Checking Plastering Process
Plumb Bob and Thread

Spirit Level
Curing of Plastering works
Curing Should Start immediately after 24 hours of completing the plaster.
The Plastered surface should be cured for minimum 7 days by spraying water, gunny bags or other materials can be used to retain the water.
The surface should be protected from extreme heat or frost conditions as they can result in cracks.
Proper Curing will help the masonry and plaster to develop the hardness and strength.
For more details, watch this: Why Curing is Important for a Building in a Construction?
About us: Civil Center is a Civil Engineering Consultancy company which provides services ranging from Building Consultancy Services like Architectural Plan, Structural Drawing, Estimation, 3D Views of Interior and Exterior of a Building, Construction Planning and Management, and also other services like Survey Investigation Works.

We also provide industrial Training to Civil Engineering Students as well as professionals which include courses on Building Design, Detailing Estimation, 3D Modelling and Survey by using Software like STAAD. Pro, Tekla Structural Designer, Revit Structures, Tekla Structures, MS Excel, E-Survey. In training our goal is to make our trainees ready for the industry by getting them trained in Live Projects. We also provide placement assistance to our trainees.
To join our live classes on Tekla Structural Designer and other courses related to Civil Engineering, click here : https://forms.gle/Yy9j8BH8zZzmFfZMA
For any query
Call on: 8433248864
WhatsApp: +91 6372905201
Email: team@civilcenter.in
If you have any requirement of Building Consultancy Services like Architectural Plan, Structural Drawings etc., register using the link given below
https://forms.gle/M4MTqgcLP6ZEp4rs7
Whatsapp: +91 6372905201
Email: enquiry@civilcenter.in
Visit our Website: http://www.civilcenter.in/
Visit our Website: http://www.civilcenter.in/
You Can Find Us On Other Social Media
Follow us on Telegram :https://t.me/civilcenter17
Visit our Facebook Page: https://www.facebook.com/civilcenter/
Visit our LinkedIn Page: https://www.linkedin.com/company/civil-center
Follow our Twitter Handle: https://twitter.com/_CivilCenter
Follow us on Instagram: https://www.instagram.com/civilcenter17/
Comments
Post a Comment